Adobe Acrobat Sign SuiteCRM Installation Guide
Adobe Sign SuiteCRM Installation guide
Navigate to Admin > Module Loader and select the zip file, that you would have received upon the purchase. Follow the installation process.
Once the add-on is installed successfully, you have to provide a valid license. Go to Admin and access “Adobe Sign Configuration” link shown as below.

Provide the license key that you have received upon purchase and validate it.

Get your Adobe Sign account from https://secure.echosign.com/public/login and get your API keys
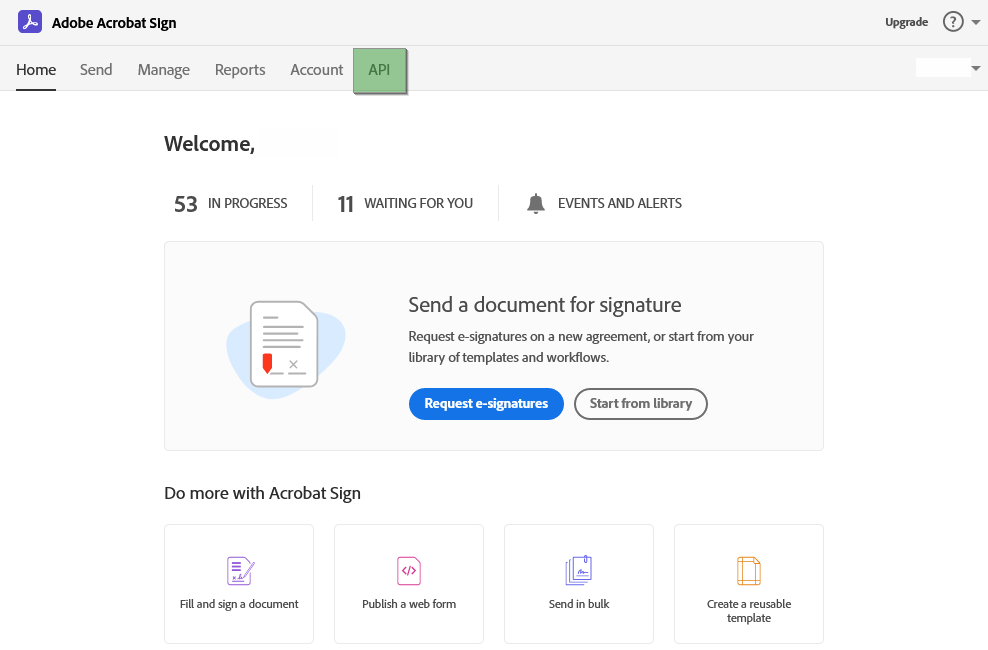
Create the “Application ID and Client Secrets” if doesn’t exist.
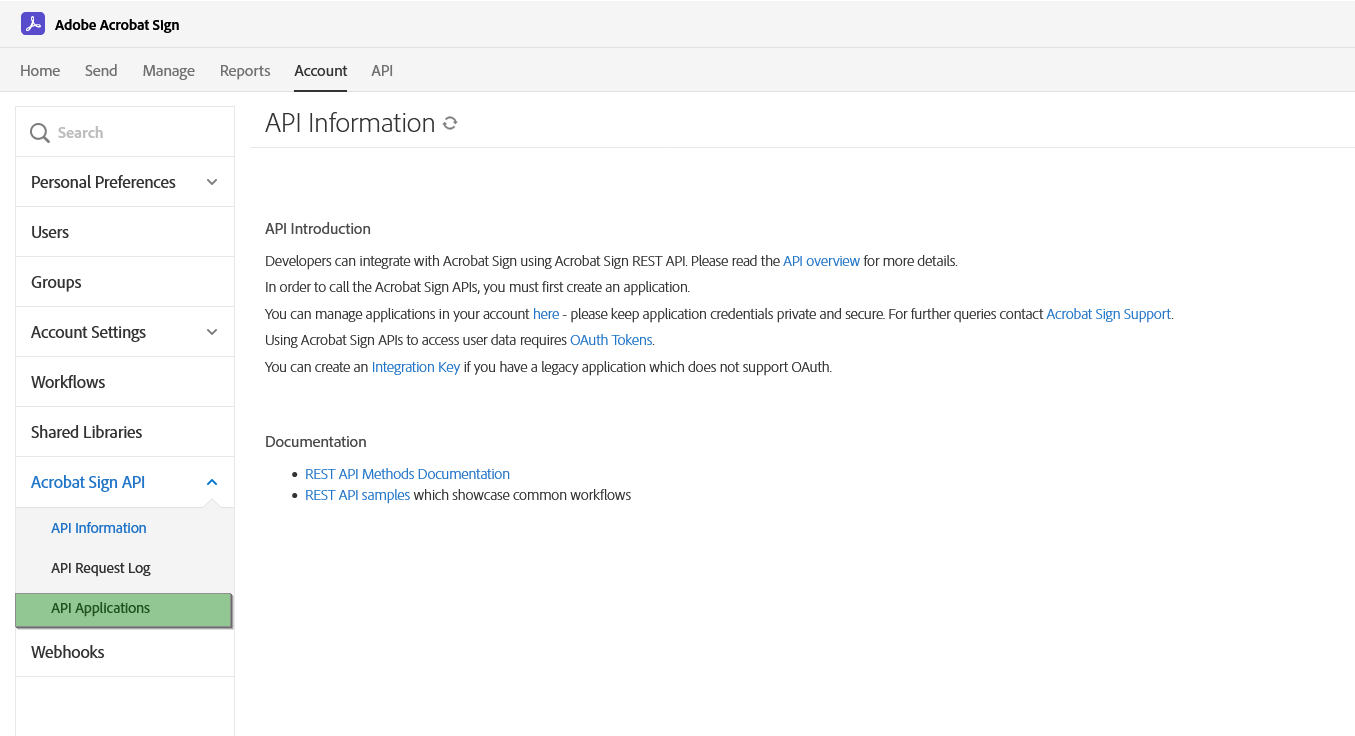
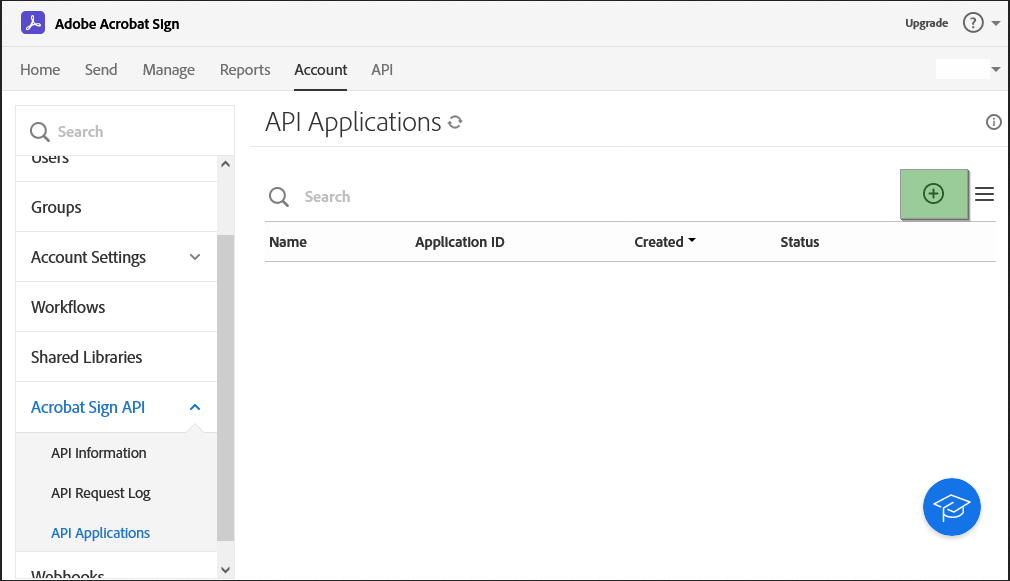
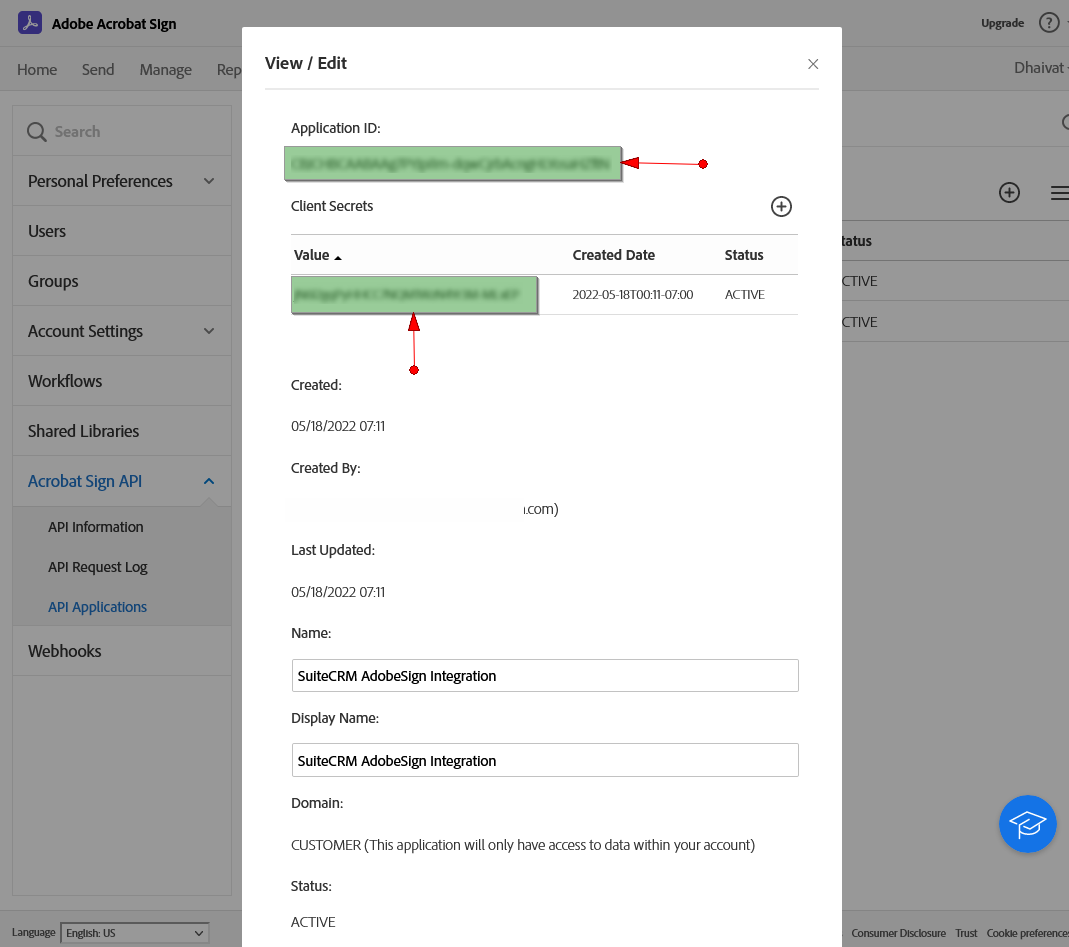
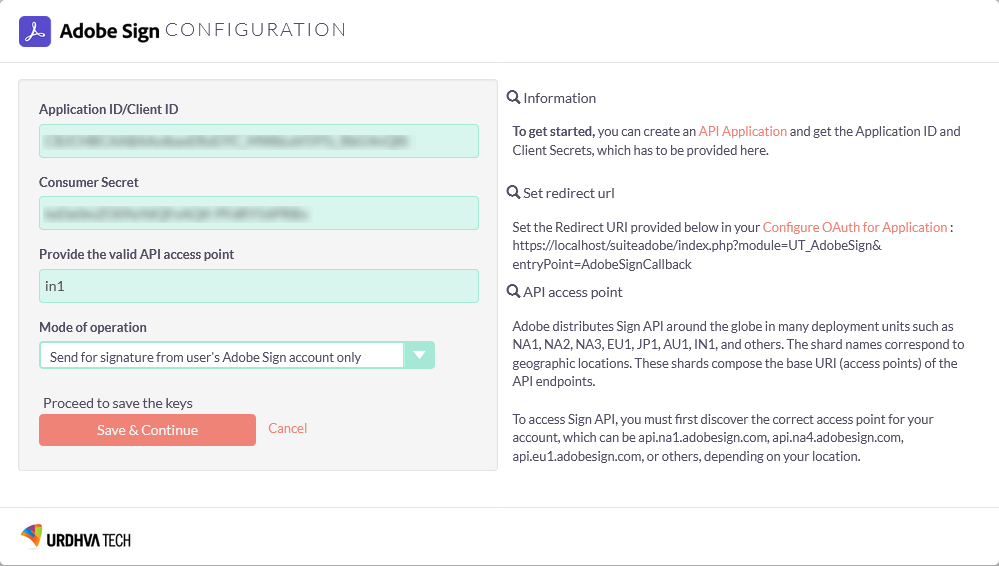
Configure the OAuth for the Application created and copy the Redirect URI from CRM configuration and paste it to the Adobe Sign “Redirect URI”.
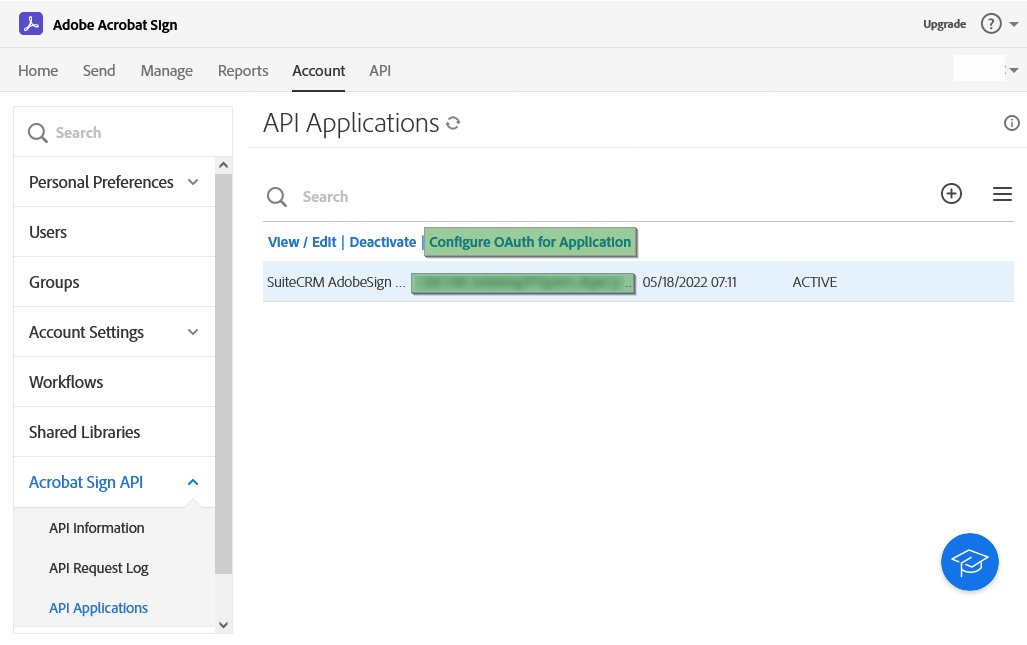

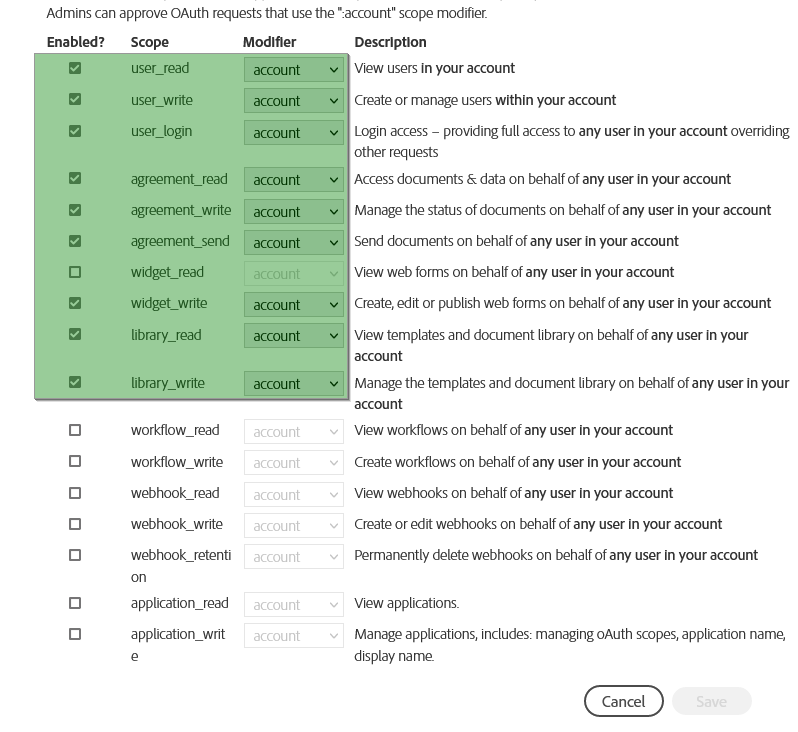
You have to Enable the Scope from the OAuth Configuration as well.
On CRM, Navigate to Admin -> “Adobe Sign configuration” and Provide the “Application ID/Client ID” and “Consumer Secret”.
Navigate to Admin -> “Schedulers” and create 2 Schedulers and set the frequency as per the needs.


